How to set up a blog page with Tailwind CSS and WordPress
Today we’re going to be building a blog page with WordPress and Tailwind CSS. If you’re unfamiliar with Tailwind CSS, now would be a good time to take a look at their docs. We’ll be using Gust to bring Tailwind CSS functionality into WordPress, so if you haven’t already got Gust installed, make sure you download it and get it installed on your site. See our getting started page for information on how to do this. Currently there are a few ways that you can build WordPress sites with Tailwind CSS but we think Gust is one of the easiest. We've done a bit of a summary of how to set up Tailwind CSS in WordPress if you'd like to read more about that. We're also going to be working with the Gust page builder, instead of working with PHP directly. So if this is new to you, have a read through our docs on the page builder.
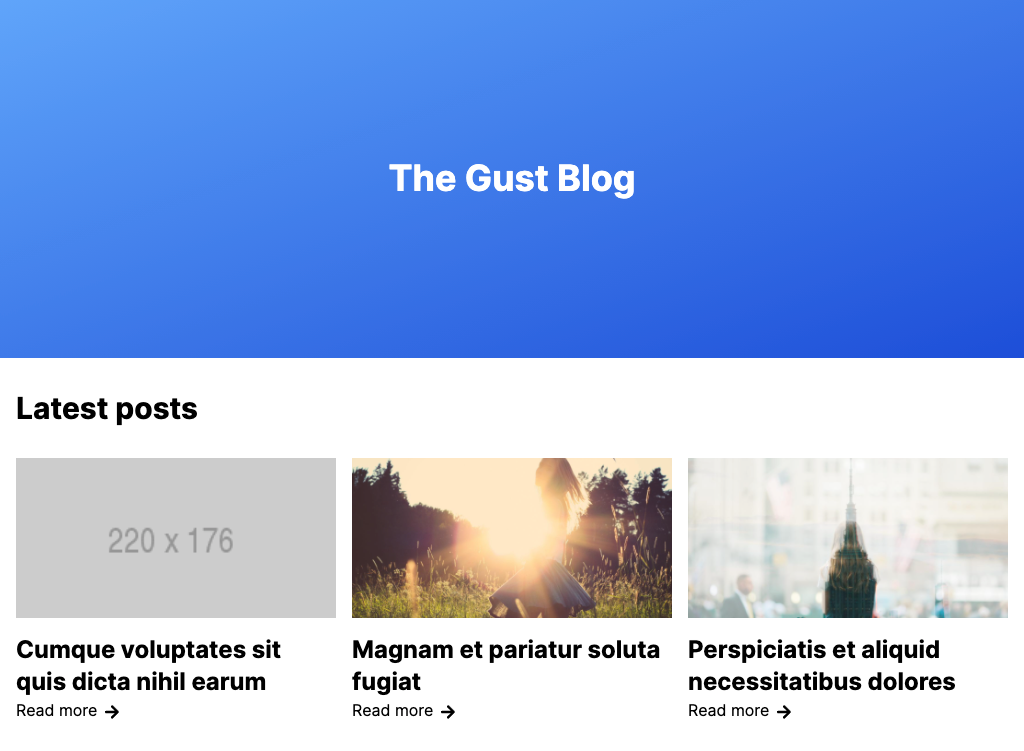
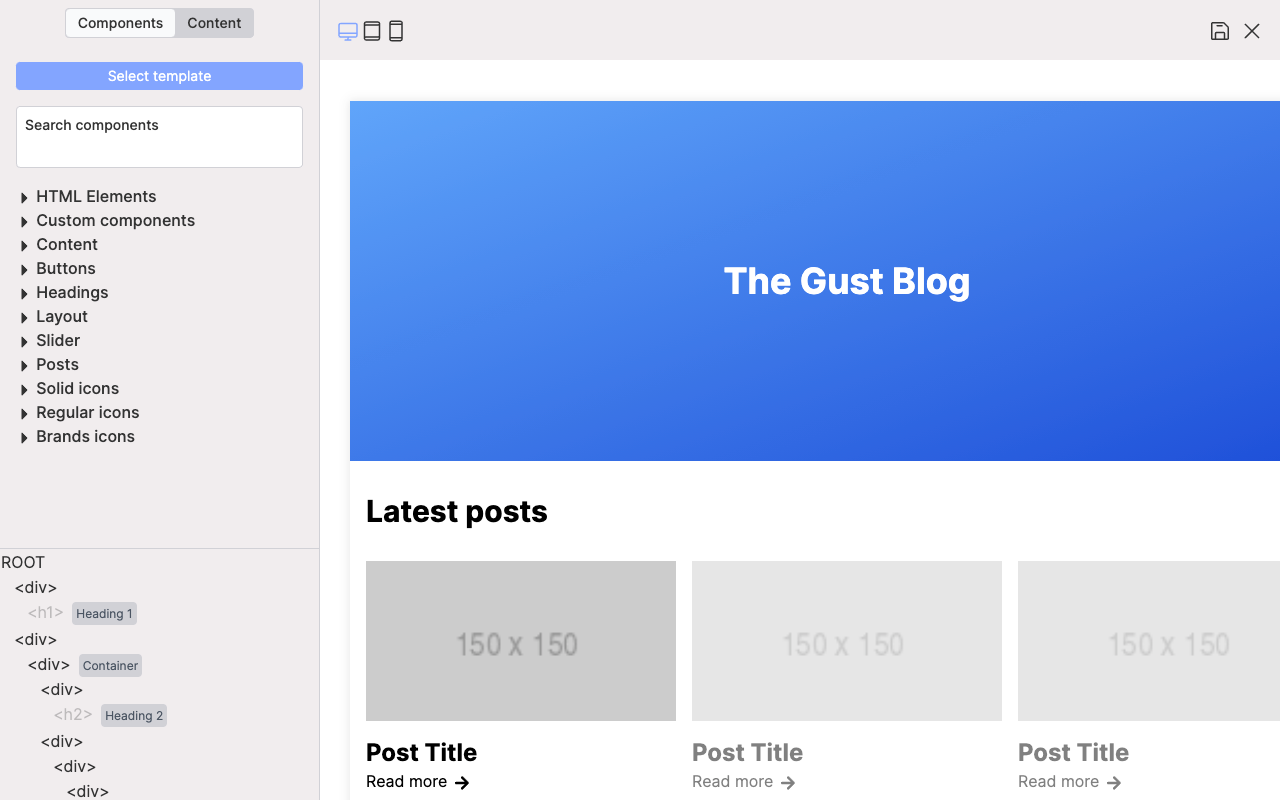
Before we get started let’s take a look at what we’ll be building. When we’re done, we’ll have a blog page that we can use as a homepage, or a landing page, with a banner at the top, and a list of posts underneath. We'll be working with posts today, but if you can stretch your imagination just a little, you can see how this could be used for products, events, anything! It's not the prettiest, but it'll look something like this:
So first thing first, head into the WordPress dashboard and create a new page. Make sure that you publish it too. Then click the "Use Gust" button which is on the right hand side of the page in the edit view. If you can't find it there, you can also go to the page list and click on the "Gust Page Builder" link when hovering over the page.
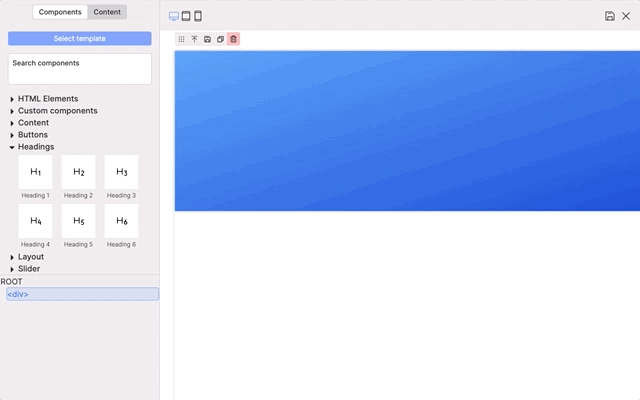
Once you have a page set up and you have the Gust page builder open, expand the "HTML Elements" section and drag a div onto the canvas. Add the following class names: py-40 px-4 bg-gradient-to-br from-blue-400 to-blue-700 text-center text-white
You should have a box with a blue gradient. We're going to add some content to this nebulous blue box, so now expand the "Headings" section and drag and drop an H1 component in there. You can change the content to whatever you want, but how about something like "The Gust Blog".
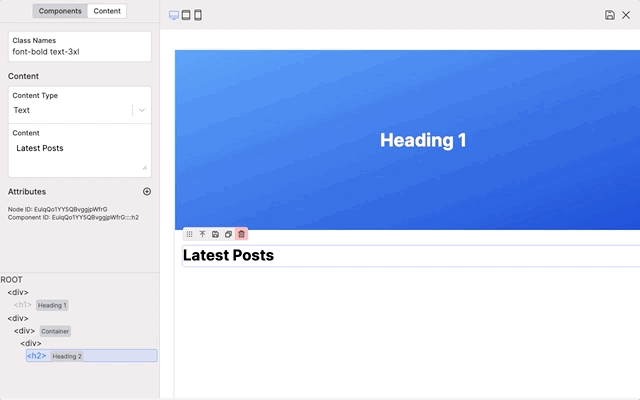
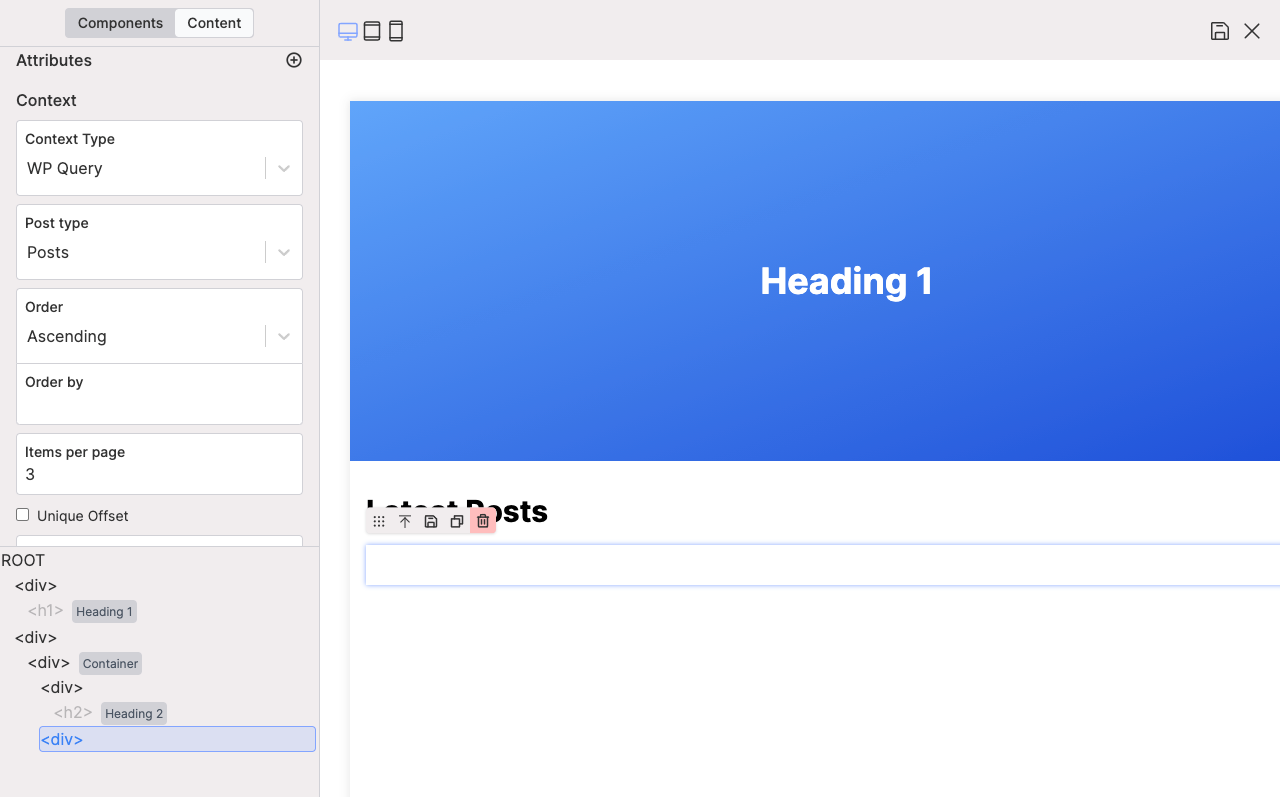
Add another div onto the white canvas below the blue box that we added earlier. Give it the class name my-8. Expand the "Layout" section and drag in a Container. Add another div to that and give the class name mb-8. Expand the "Headings" section again and this time add an H2 component and change its content to read "Latest posts". At this point you should have something like this:
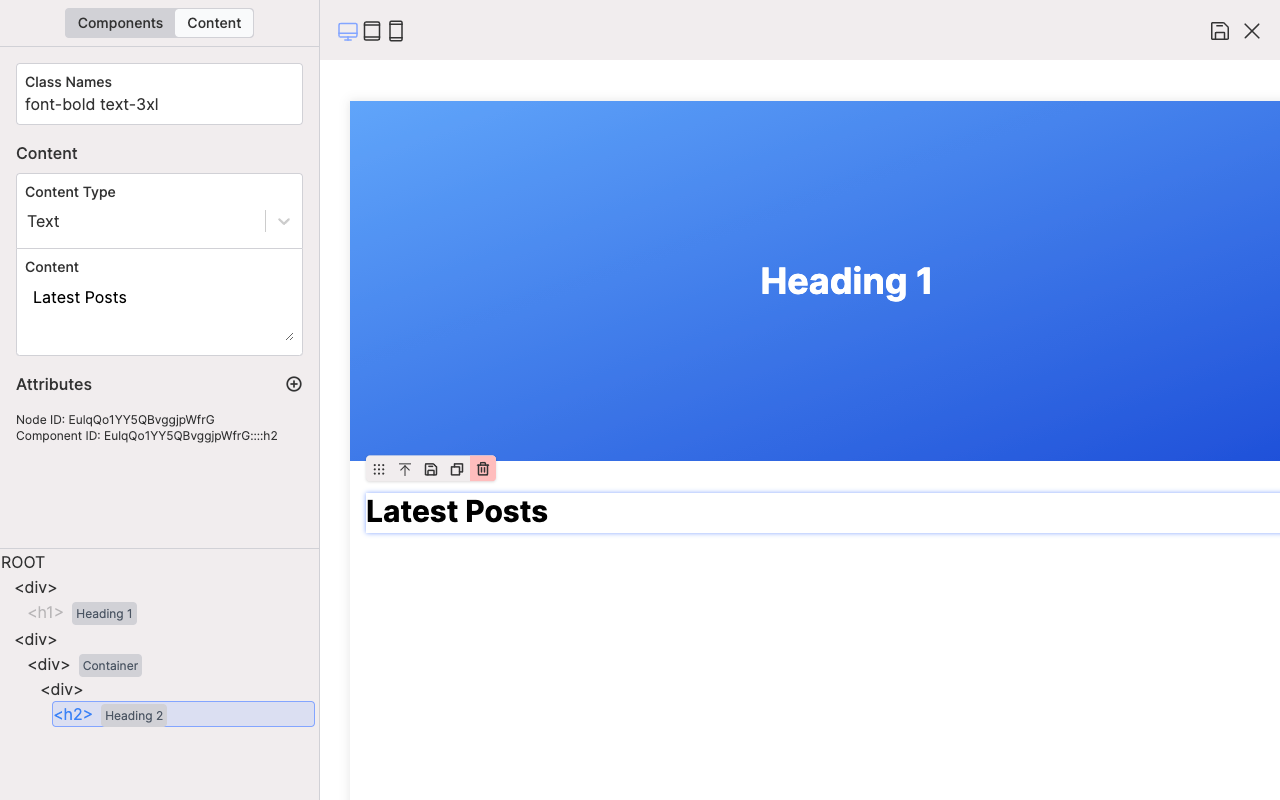
Things are starting to take shape! Now we need to add another div into the Container we set up earlier. Dragging and dropping things in the right place can sometimes be a bit tricky, so I like to drag elements directly into the DOM tree ( see the GIF below ). So drag in a new div and give it the class names grid grid-cols-12 gap-4.
Now we're going to add some context to this div so that we can loop through the posts later on. This is one of the unique features of Gust and our documentation has some more info about adding context to elements. With the div still selected, scroll down in the "Content" section of the page builder ( in the left hand sidebar ) until you see the "Context" heading. Select "WP Query" as the "Context Type" and enter "3" items per page.
Confused as to what just happened? No worries. We've created a new instance of WP Query that is going to take the latest three posts. Very soon we're going to set up a "loop" to display each post from that query.
As a side-note, Gust does come with some pre-built components that could do this for you, but we wouldn't be learning much doing that now would we!
So with that in mind, add another div into the one we just created and set its class names to col-span-12 md:col-span-6 lg:col-span-4 which will make it full width on small screens, half width on medium screens, and one third on larger screens. This is going to be the container for each post returned from WP Query. To do that, scroll down to the "Context" section like before, but this time select "Use context loop".
What's a post without images right? So let's set up a container for the post image. Drop a div into the one we just added and set its class names to relative bg-gray-200 pb-40 mb-4. Now add an img and with the class names absolute left-0 top-0 w-full h-full object-cover. We still need to pull in the src for the image, otherwise it'll just be blank, so click the "+" under "Attributes" and set the "Attribute Name" to "src", choose "Function" as the "Attribute Type" and choose "the_post_thumbnail_url()" for the "Function name".
Next up is the post title. Expand the "Headings" section again and drag an H3 component down into the DOM tree and add it after the div that holds the img. If you drop it in the wrong spot, you can always drag and drop from the DOM tree to move them around. Set the "Content Type" to be a "Function" and choose "the_title()" for the "Function name".
Finally we need to add a read more link. Drag in an a below the H3 we just added. Click the "+" in the attributes section and enter "href" for the "Attribute Name", "Function" for the "Attribute Type", and "the_permalink()" for the "Function name". Drag a span into the a and enter "Read more" into the "Content" input. Enter mr-2 inline-block into the "Class Names" field. Lastly, click the "Components" button at the top left and search for "Arrow right". Drag that into the a placing it to the right of the span we added before.
And with that we're done! Save your work by clicking the save button in the top right hand corner. Gust will likely need to re-build your CSS so sit tight while it does. Once it's finished you can open up the page you just made and you should be able to see your latest three posts displayed in a grid, fully responsive.