Build your first page with Gust
It's time to build your first page with Gust. You'll learn how to use templates, components, and how to use Tailwind CSS in WordPress.
Add a page
The first step is to add a new page. From the WordPress admin dashboard, click on Pages > Add New. Call your page "First Gust Build". Save and publish.
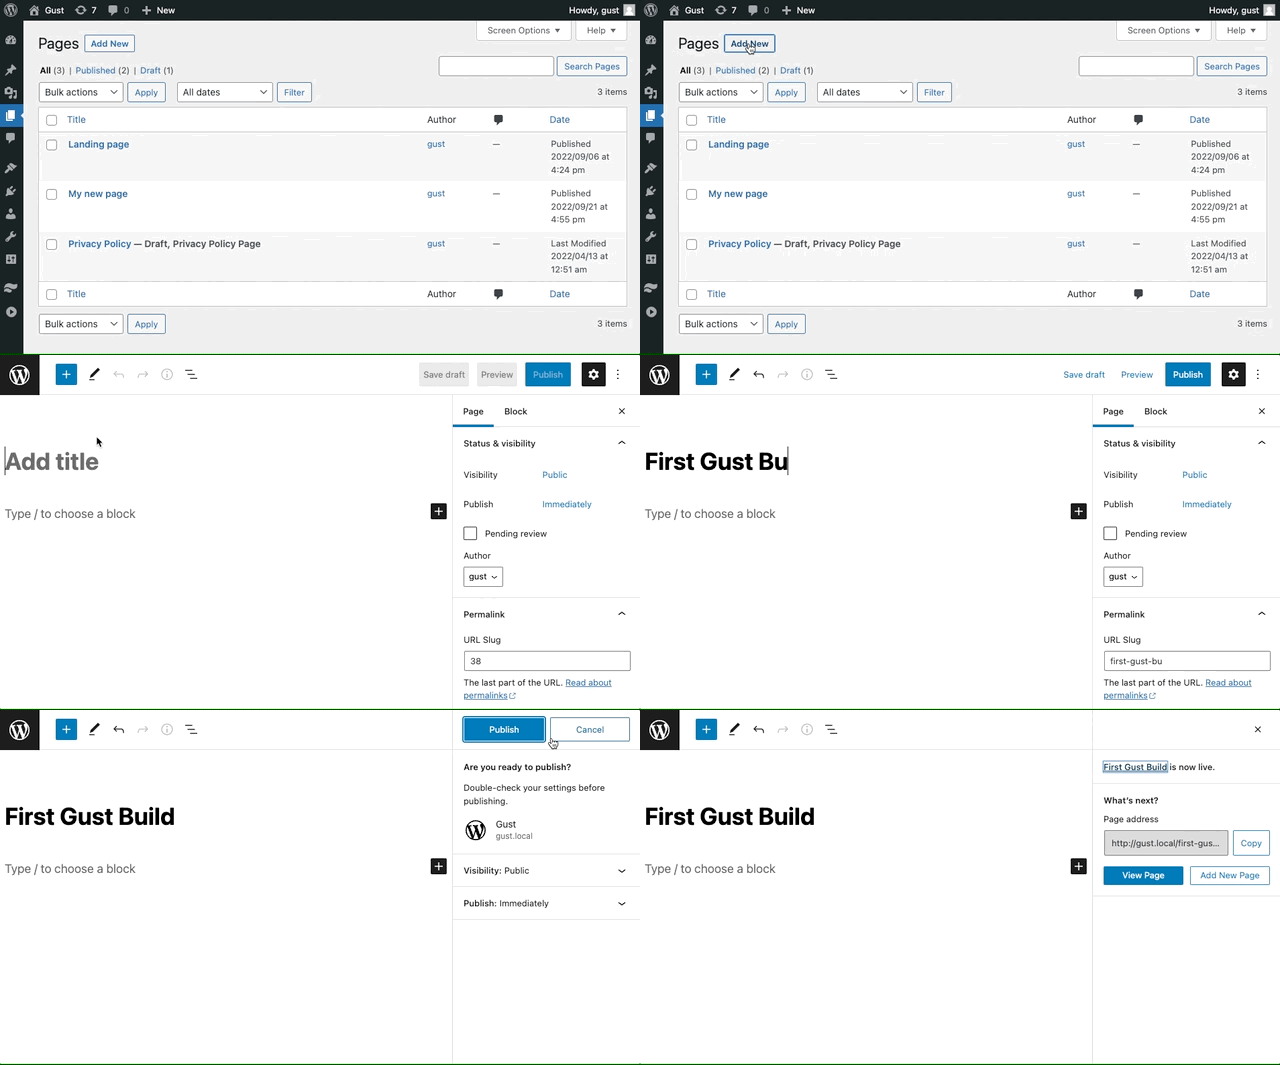
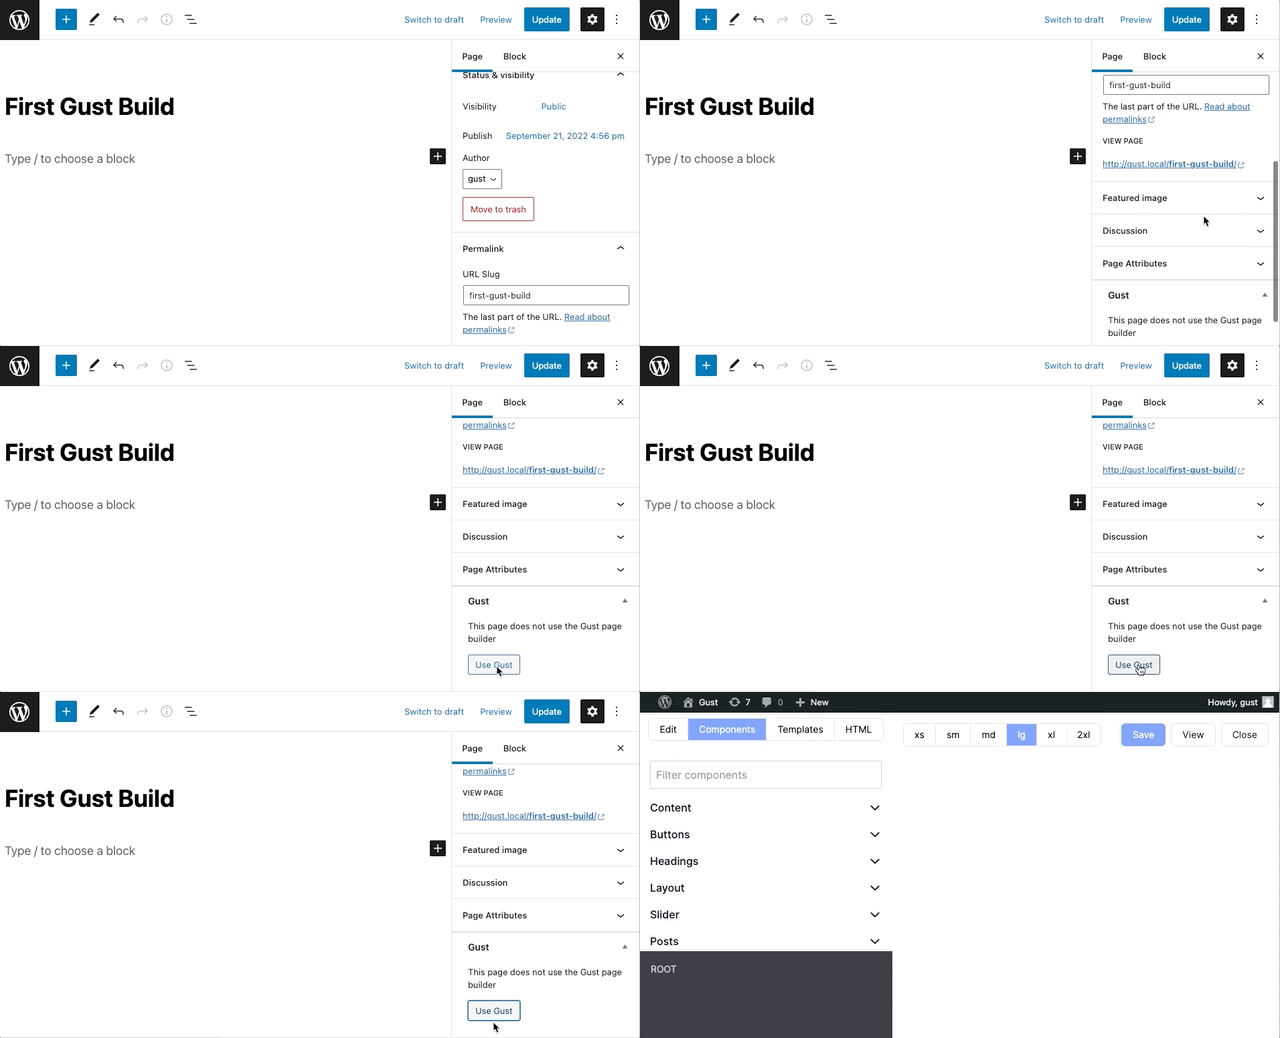
At the moment this is the same as any other WordPress page. To make use of Gust we'll need to fire up the Gust page builder. Scroll down the page to the "Gust" section and click "Use Gust".
Using templates
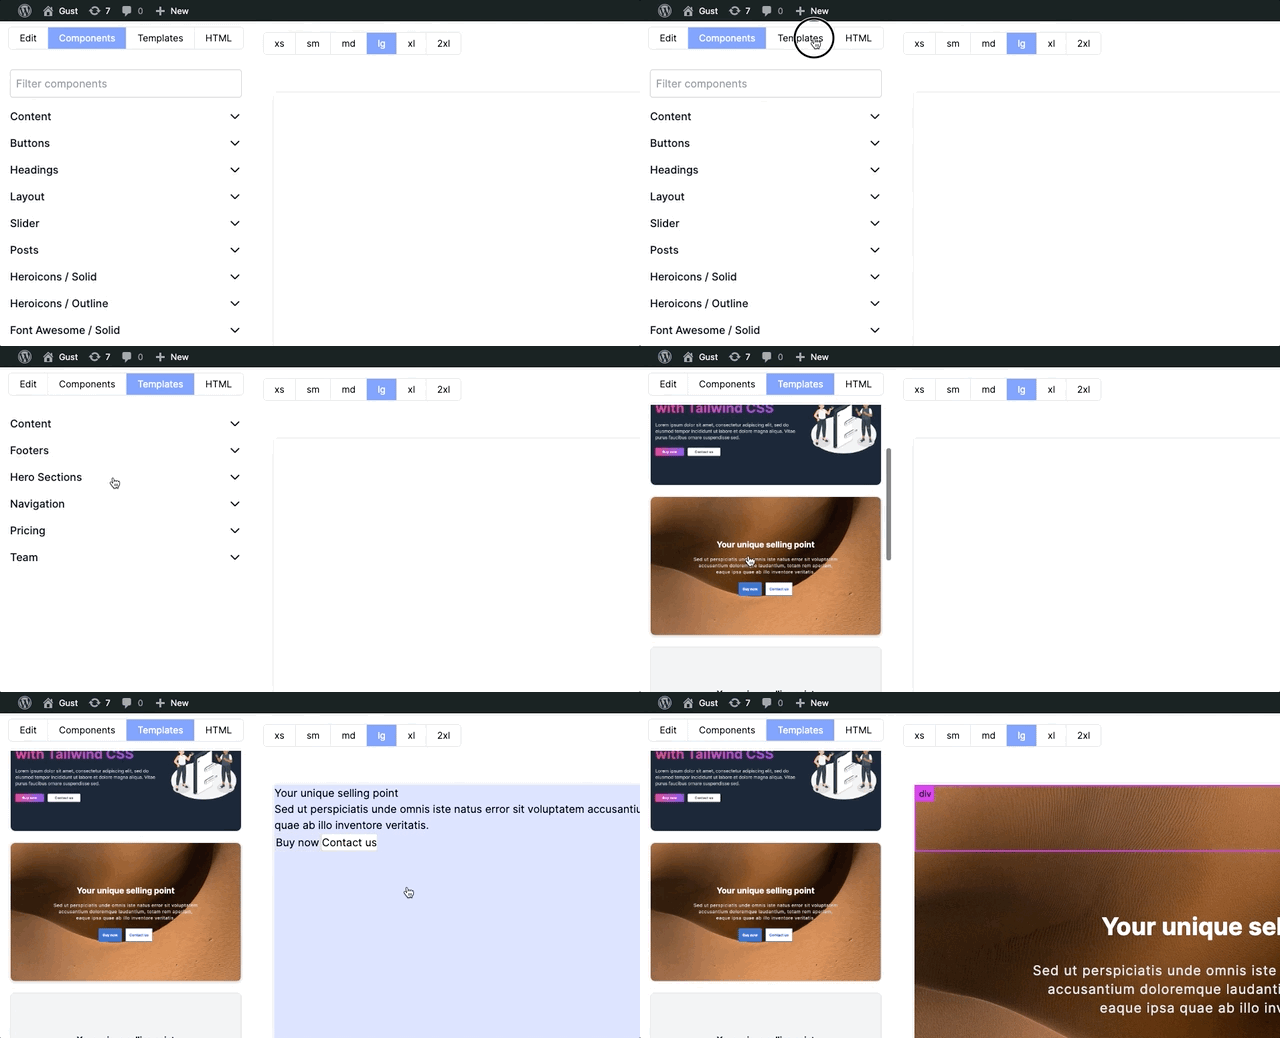
Gust comes with pre-built components and templates you can use to build pages. Let's start by adding a template and updating some of the content and design. Open the "Templates" tab of the page builder, expand the "Hero Sections" menu and drag in one of the templates.
Update content
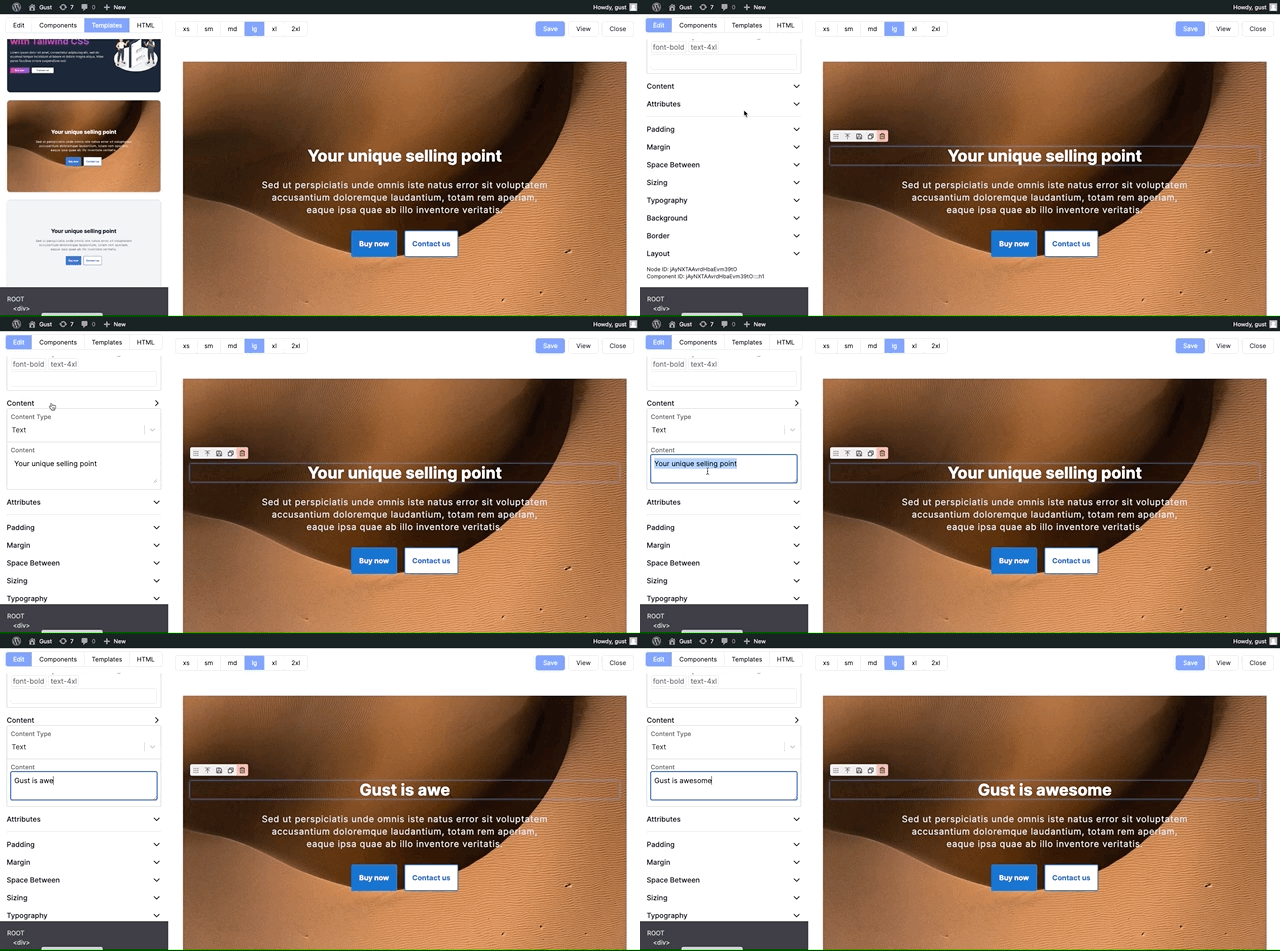
Updating content is super easy with Gust. Just click on the title, expand the "Content" section and update the text. You can choose from either plain text, rich text, filter, or function. You can learn more about content types here but lets stick with plain text for now. Update the text and you'll see your changes show up in the preview.
Changing styles
Gust makes it easy to work with Tailwind CSS utility classes. Let's update some of the styles to see how they work. Click on the paragraph text just below the heading. Looking at the "class names" field you'll see it's got text-gray-200 applied. Click on that class name to remove it. Now type in text-slate-200 and press enter or the space bar. Easy as that! You'll have noticed that Gust will present you with options as you type. If you want to select one of those options, ensure it's highlighted and press Enter.
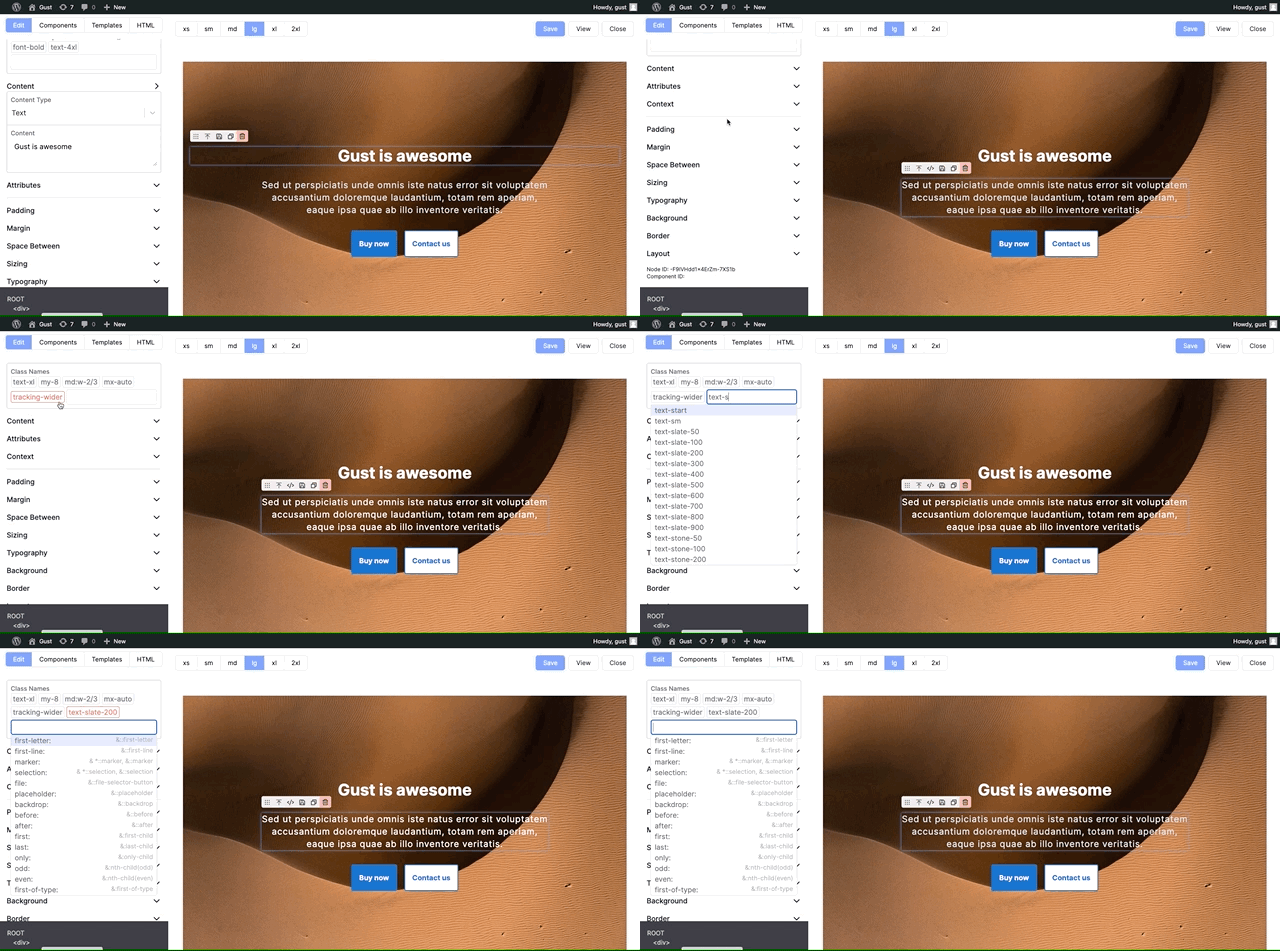
We're going to change it again, this time using controls instead of adding class names. Scroll down and expand the "Typography" section. You'll see text-slate-200 is already selected on the "Text Color" dropdown. Click in there and choose any color you'd like.
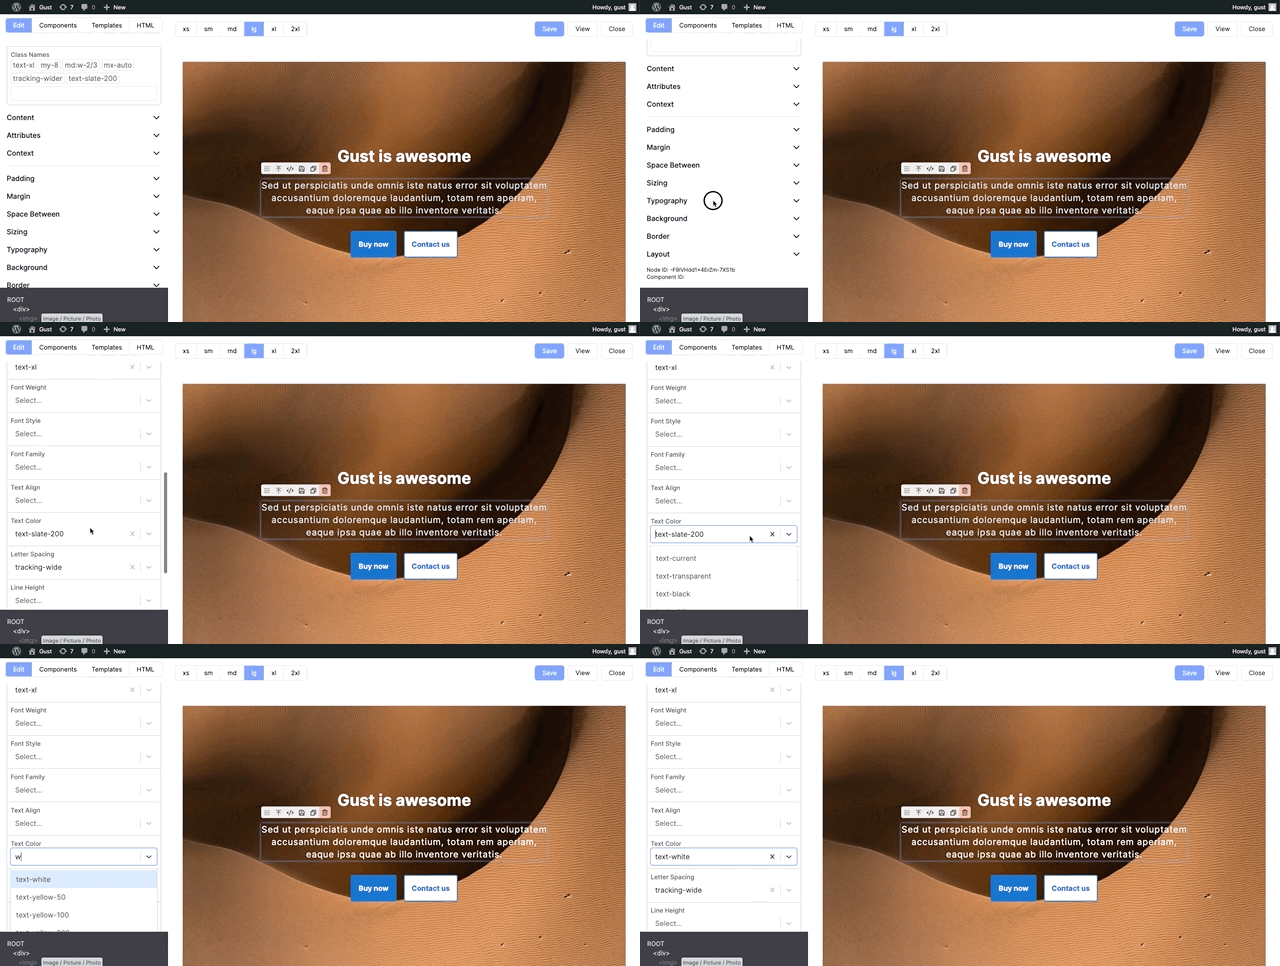
Adding our own content
Templates are great and make it super easy to create pages quickly, but when we want to build our own designs we'll need to implement that ourselves. If you've another tool to build content with Tailwind you can import the HTML, but today we're going to add components manually.
Open the "HTML" tab and drag in a Open the "Components" tab, expand the "Layout" section and drag in a "Container". The container sets a max width for its content, centers it, and adds some horizontal padding. It's excellent for keeping content aligned on the site. Open the "Components" tab again, expand the "Headings" section and drag in a "Heading 2". This is an Finally, we'll add a CTA. Open the "Components" tab, expand the "Buttons" section and drag a button in below the heading you just added. Change the "Type" to "Primary" and expand the "Content" section and change the text. Save your work and hit the "View" button to open your page with the new changes applied. Congratulations! You built your first page with Tailwind CSS in WordPress using Gust! If you want to go deeper you can check out some of our more advanced topics like:py-24 to give it some padding.
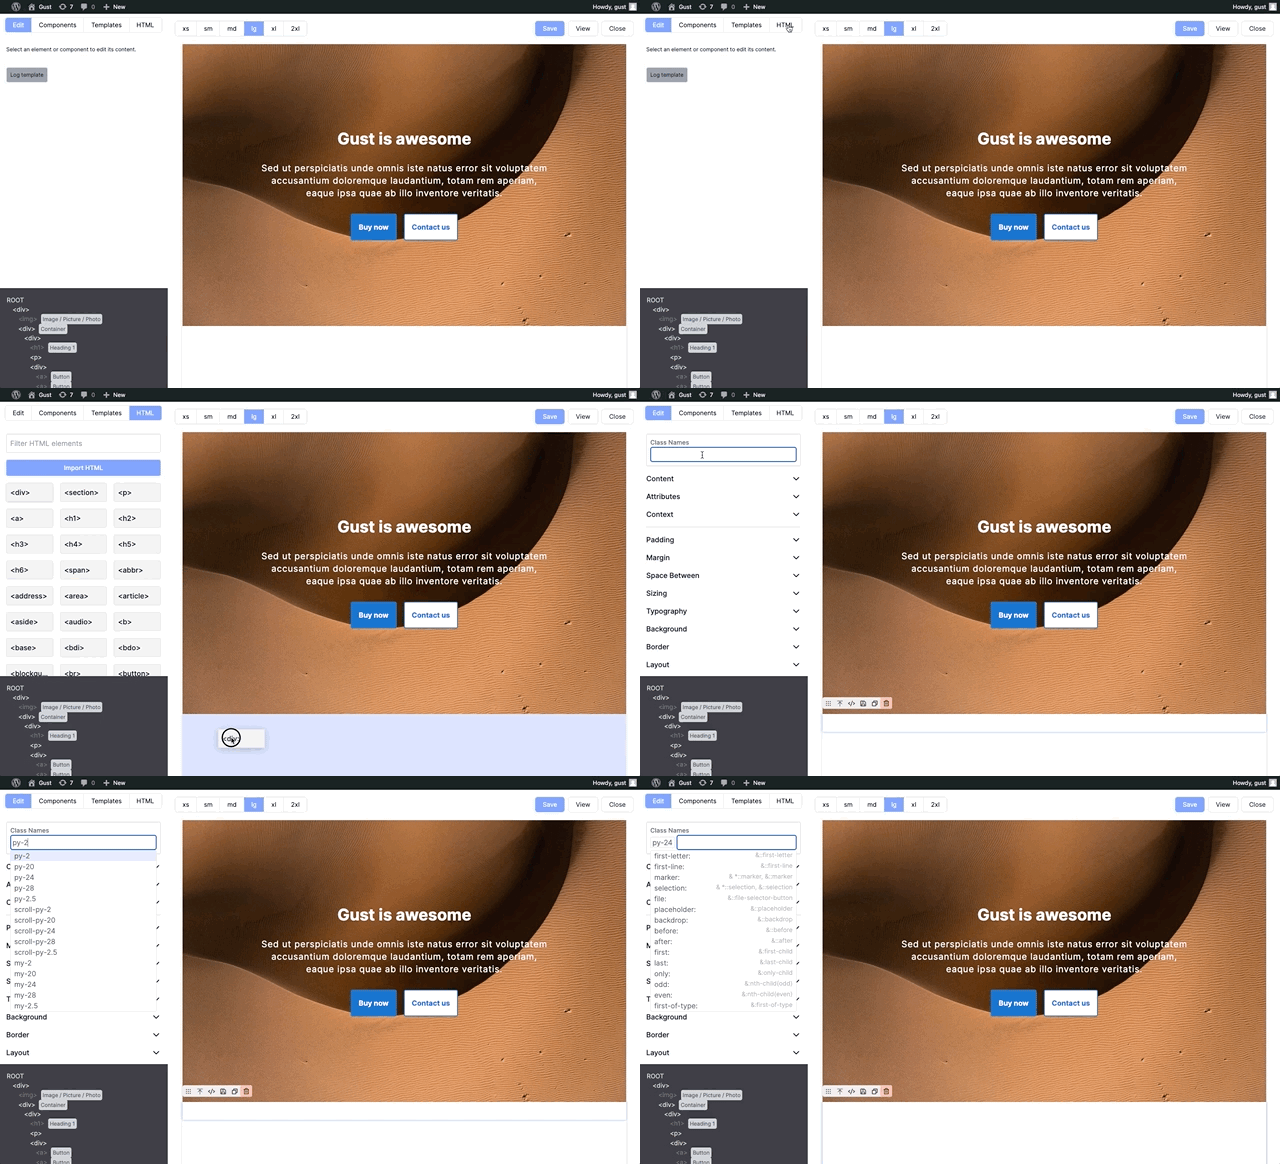
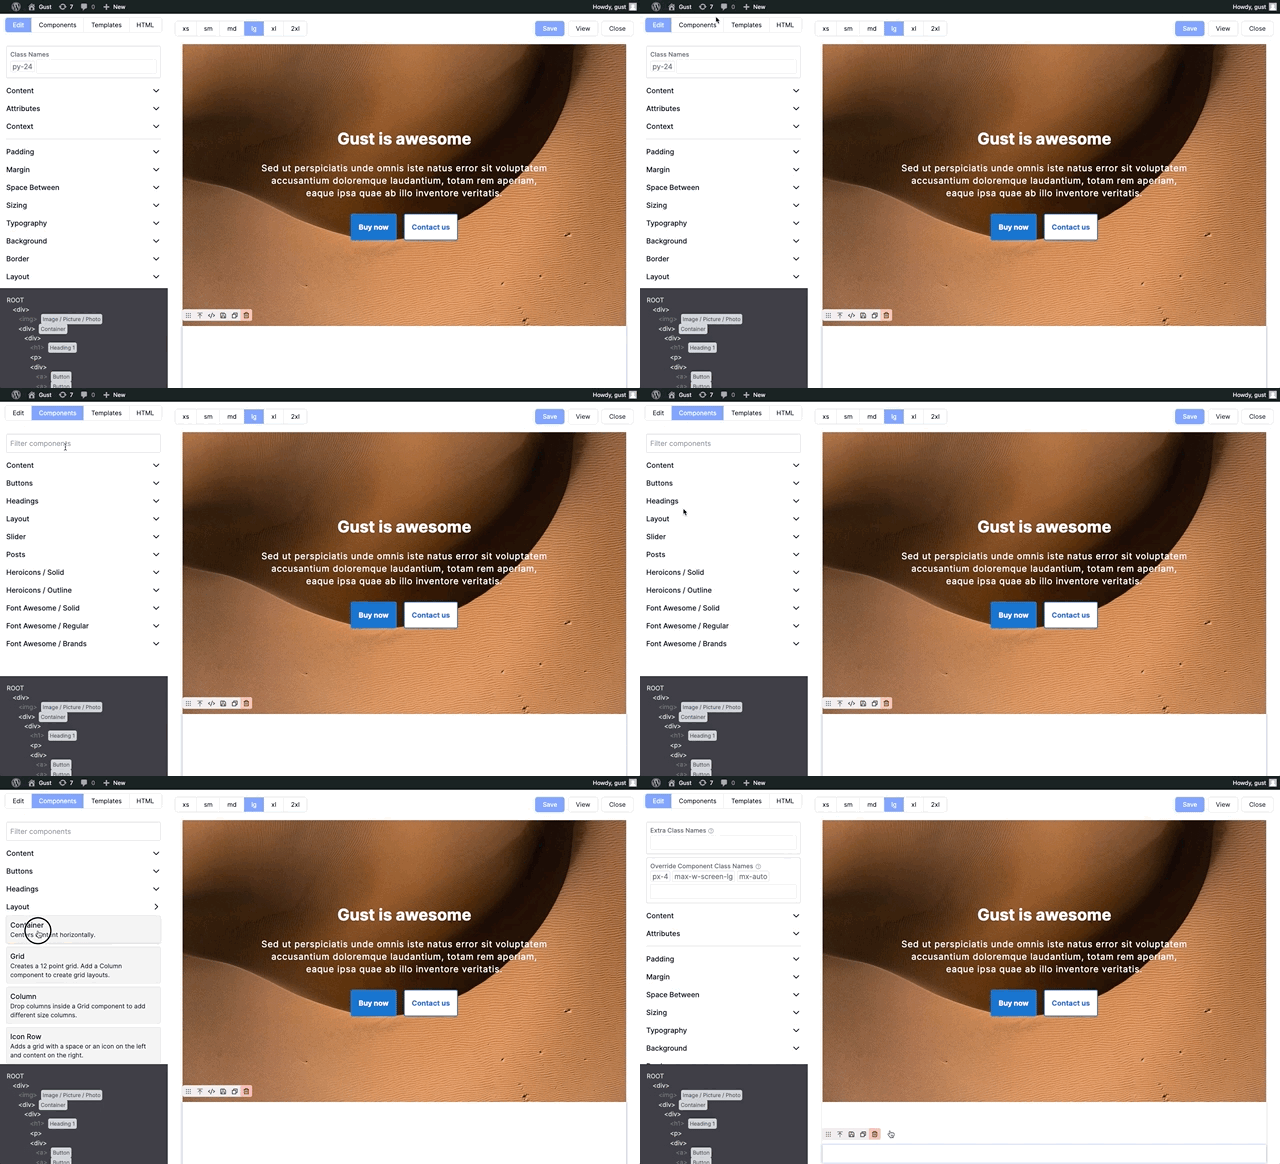
element with some pre-defined styles in it. Open the "Content" section and write "Rapidly build modern websites without ever leaving WordPress", then in the "Extra Class Names" box add max-w-[500px] mb-8.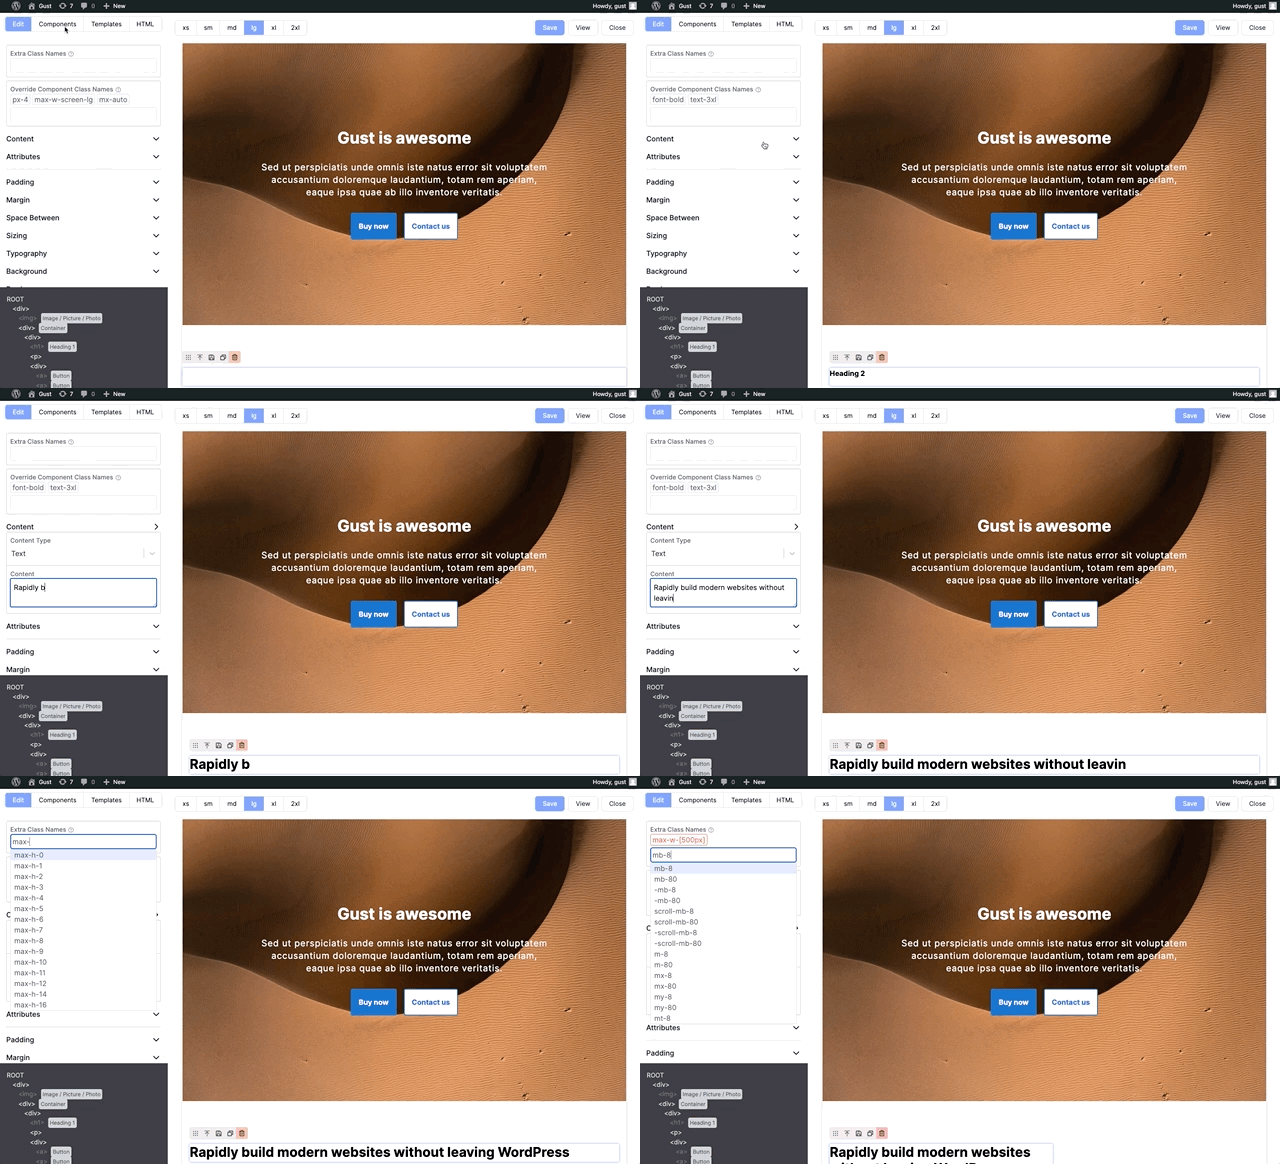
Save & Preview
Next Steps